
|
|
|
 在 GitHub 上檢視原始碼 在 GitHub 上檢視原始碼
|
|
若要在 TensorFlow 中進行機器學習,您可能需要定義、儲存和還原模型。
抽象來說,模型是
- 一個在張量上計算某些內容的函數(前向傳遞)
- 一些可以根據訓練結果更新的變數
在本指南中,您將深入 Keras 的底層,了解 TensorFlow 模型的定義方式。這將探討 TensorFlow 如何收集變數和模型,以及它們如何被儲存和還原。
設定
import tensorflow as tf
import keras
from datetime import datetime

%load_ext tensorboard
2023-10-18 01:21:05.536666: E tensorflow/compiler/xla/stream_executor/cuda/cuda_dnn.cc:9342] Unable to register cuDNN factory: Attempting to register factory for plugin cuDNN when one has already been registered
2023-10-18 01:21:05.536712: E tensorflow/compiler/xla/stream_executor/cuda/cuda_fft.cc:609] Unable to register cuFFT factory: Attempting to register factory for plugin cuFFT when one has already been registered
2023-10-18 01:21:05.536766: E tensorflow/compiler/xla/stream_executor/cuda/cuda_blas.cc:1518] Unable to register cuBLAS factory: Attempting to register factory for plugin cuBLAS when one has already been registered
TensorFlow 模組
大多數模型都由層組成。層是具有已知數學結構的函數,可以重複使用並具有可訓練的變數。在 TensorFlow 中,層和模型的大多數高階實作 (例如 Keras 或 Sonnet) 都建立在相同的基礎類別上:tf.Module。
建構模組
這是一個非常簡單的 tf.Module 範例,它對純量張量進行操作
class SimpleModule(tf.Module):
  def __init__(self, name=None):
    super().__init__(name=name)
    self.a_variable = tf.Variable(5.0, name="train_me")
    self.non_trainable_variable = tf.Variable(5.0, trainable=False, name="do_not_train_me")
  def __call__(self, x):
    return self.a_variable * x + self.non_trainable_variable

simple_module = SimpleModule(name="simple")

simple_module(tf.constant(5.0))
2023-10-18 01:21:08.181350: W tensorflow/core/common_runtime/gpu/gpu_device.cc:2211] Cannot dlopen some GPU libraries. Please make sure the missing libraries mentioned above are installed properly if you would like to use GPU. Follow the guide at https://tensorflow.dev.org.tw/install/gpu for how to download and setup the required libraries for your platform.
Skipping registering GPU devices...
<tf.Tensor: shape=(), dtype=float32, numpy=30.0>
模組以及層 (作為延伸) 是深度學習術語中的「物件」:它們具有內部狀態,以及使用該狀態的方法。
`__call__` 除了作為 Python 可呼叫物件之外,沒有任何特殊之處;您可以使用任何您希望的函數來調用您的模型。
您可以基於任何原因開啟或關閉變數的可訓練性,包括在微調期間凍結層和變數。
透過子類別化 tf.Module,分配給此物件屬性的任何 tf.Variable 或 tf.Module 實例都會自動收集。這允許您儲存和載入變數,並建立 tf.Module 的集合。
# All trainable variables
print("trainable variables:", simple_module.trainable_variables)
# Every variable
print("all variables:", simple_module.variables)
trainable variables: (<tf.Variable 'train_me:0' shape=() dtype=float32, numpy=5.0>,)
all variables: (<tf.Variable 'train_me:0' shape=() dtype=float32, numpy=5.0>, <tf.Variable 'do_not_train_me:0' shape=() dtype=float32, numpy=5.0>)
這是一個由模組組成的雙層線性層模型範例。
首先是密集 (線性) 層
class Dense(tf.Module):
  def __init__(self, in_features, out_features, name=None):
    super().__init__(name=name)
    self.w = tf.Variable(
      tf.random.normal([in_features, out_features]), name='w')
    self.b = tf.Variable(tf.zeros([out_features]), name='b')
  def __call__(self, x):
    y = tf.matmul(x, self.w) + self.b
    return tf.nn.relu(y)
然後是完整的模型,它建立兩個層實例並應用它們
class SequentialModule(tf.Module):
  def __init__(self, name=None):
    super().__init__(name=name)

    self.dense_1 = Dense(in_features=3, out_features=3)
    self.dense_2 = Dense(in_features=3, out_features=2)

  def __call__(self, x):
    x = self.dense_1(x)
    return self.dense_2(x)

# You have made a model!
my_model = SequentialModule(name="the_model")

# Call it, with random results
print("Model results:", my_model(tf.constant([[2.0, 2.0, 2.0]])))
Model results: tf.Tensor([[0. 3.415034]], shape=(1, 2), dtype=float32)
tf.Module 實例將自動遞迴地收集分配給它的任何 tf.Variable 或 tf.Module 實例。這允許您使用單個模型實例管理 tf.Module 的集合,並儲存和載入整個模型。
print("Submodules:", my_model.submodules)
Submodules: (<__main__.Dense object at 0x7f7931aea250>, <__main__.Dense object at 0x7f77ed5b8a00>)
for var in my_model.variables:
  print(var, "\n")
<tf.Variable 'b:0' shape=(3,) dtype=float32, numpy=array([0., 0., 0.], dtype=float32)>

<tf.Variable 'w:0' shape=(3, 3) dtype=float32, numpy=
array([[-2.8161757, -2.6065955,  1.9061812],
       [-0.9430401, -0.4624743, -0.4531979],
       [-1.3428234,  0.7062293,  0.7874674]], dtype=float32)>

<tf.Variable 'b:0' shape=(2,) dtype=float32, numpy=array([0., 0.], dtype=float32)>

<tf.Variable 'w:0' shape=(3, 2) dtype=float32, numpy=
array([[ 1.0474309 , -0.6920227 ],
       [ 1.2405277 ,  0.36411622],
       [-1.6990206 ,  0.762131  ]], dtype=float32)>
等待建立變數
您可能已經注意到,在這裡您必須為層定義輸入和輸出大小。這是為了讓 `w` 變數具有已知的形狀並且可以分配。
透過將變數建立延遲到模組第一次以特定輸入形狀調用時,您不需要預先指定輸入大小。
class FlexibleDenseModule(tf.Module):
  # Note: No need for `in_features`
  def __init__(self, out_features, name=None):
    super().__init__(name=name)
    self.is_built = False
    self.out_features = out_features

  def __call__(self, x):
    # Create variables on first call.
    if not self.is_built:
      self.w = tf.Variable(
        tf.random.normal([x.shape[-1], self.out_features]), name='w')
      self.b = tf.Variable(tf.zeros([self.out_features]), name='b')
      self.is_built = True

    y = tf.matmul(x, self.w) + self.b
    return tf.nn.relu(y)
# Used in a module
class MySequentialModule(tf.Module):
  def __init__(self, name=None):
    super().__init__(name=name)

    self.dense_1 = FlexibleDenseModule(out_features=3)
    self.dense_2 = FlexibleDenseModule(out_features=2)

  def __call__(self, x):
    x = self.dense_1(x)
    return self.dense_2(x)

my_model = MySequentialModule(name="the_model")
print("Model results:", my_model(tf.constant([[2.0, 2.0, 2.0]])))
Model results: tf.Tensor([[0. 0.]], shape=(1, 2), dtype=float32)
這種彈性是為什麼 TensorFlow 層通常只需要指定其輸出的形狀 (例如在 tf.keras.layers.Dense 中),而不是同時指定輸入和輸出大小。
儲存權重
您可以將 tf.Module 儲存為檢查點和 SavedModel。
檢查點只是權重 (也就是模組及其子模組內變數集合的值)
chkp_path = "my_checkpoint"
checkpoint = tf.train.Checkpoint(model=my_model)
checkpoint.write(chkp_path)
'my_checkpoint'
檢查點由兩種檔案組成:資料本身和用於元資料的索引檔案。索引檔案追蹤實際儲存的內容和檢查點的編號,而檢查點資料包含變數值及其屬性查找路徑。
ls my_checkpoint*
my_checkpoint.data-00000-of-00001 my_checkpoint.index
您可以查看檢查點內部,以確保儲存了整個變數集合,並按包含它們的 Python 物件排序。
tf.train.list_variables(chkp_path)
[('_CHECKPOINTABLE_OBJECT_GRAPH', []),
 ('model/dense_1/b/.ATTRIBUTES/VARIABLE_VALUE', [3]),
 ('model/dense_1/w/.ATTRIBUTES/VARIABLE_VALUE', [3, 3]),
 ('model/dense_2/b/.ATTRIBUTES/VARIABLE_VALUE', [2]),
 ('model/dense_2/w/.ATTRIBUTES/VARIABLE_VALUE', [3, 2])]
在分散式 (多機器) 訓練期間,它們可以被分片,這就是它們被編號的原因 (例如,'00000-of-00001')。但在這種情況下,只有一個分片。
當您將模型重新載入時,您會覆寫 Python 物件中的值。
new_model = MySequentialModule()
new_checkpoint = tf.train.Checkpoint(model=new_model)
new_checkpoint.restore("my_checkpoint")

# Should be the same result as above
new_model(tf.constant([[2.0, 2.0, 2.0]]))
<tf.Tensor: shape=(1, 2), dtype=float32, numpy=array([[0., 0.]], dtype=float32)>
儲存函數
TensorFlow 可以運行模型而無需原始 Python 物件,正如 TensorFlow Serving 和 TensorFlow Lite 所展示的那樣,即使您從 TensorFlow Hub 下載經過訓練的模型也是如此。
TensorFlow 需要知道如何執行 Python 中描述的計算,但無需原始程式碼。為此,您可以建立圖,這在圖和函數簡介指南中有描述。
此圖包含實作該函數的運算或 *ops*。
您可以在上面的模型中定義一個圖,方法是新增 @tf.function 裝飾器,以指示此程式碼應作為圖運行。
class MySequentialModule(tf.Module):
  def __init__(self, name=None):
    super().__init__(name=name)

    self.dense_1 = Dense(in_features=3, out_features=3)
    self.dense_2 = Dense(in_features=3, out_features=2)

  @tf.function
  def __call__(self, x):
    x = self.dense_1(x)
    return self.dense_2(x)

# You have made a model with a graph!
my_model = MySequentialModule(name="the_model")
您建立的模組的工作方式與以前完全相同。傳遞到函數中的每個唯一簽章都會建立一個單獨的圖。有關詳細資訊,請查看圖和函數簡介指南。
print(my_model([[2.0, 2.0, 2.0]]))
print(my_model([[[2.0, 2.0, 2.0], [2.0, 2.0, 2.0]]]))
tf.Tensor([[0.31593648 0.        ]], shape=(1, 2), dtype=float32)
tf.Tensor(
[[[0.31593648 0.        ]
  [0.31593648 0.        ]]], shape=(1, 2, 2), dtype=float32)
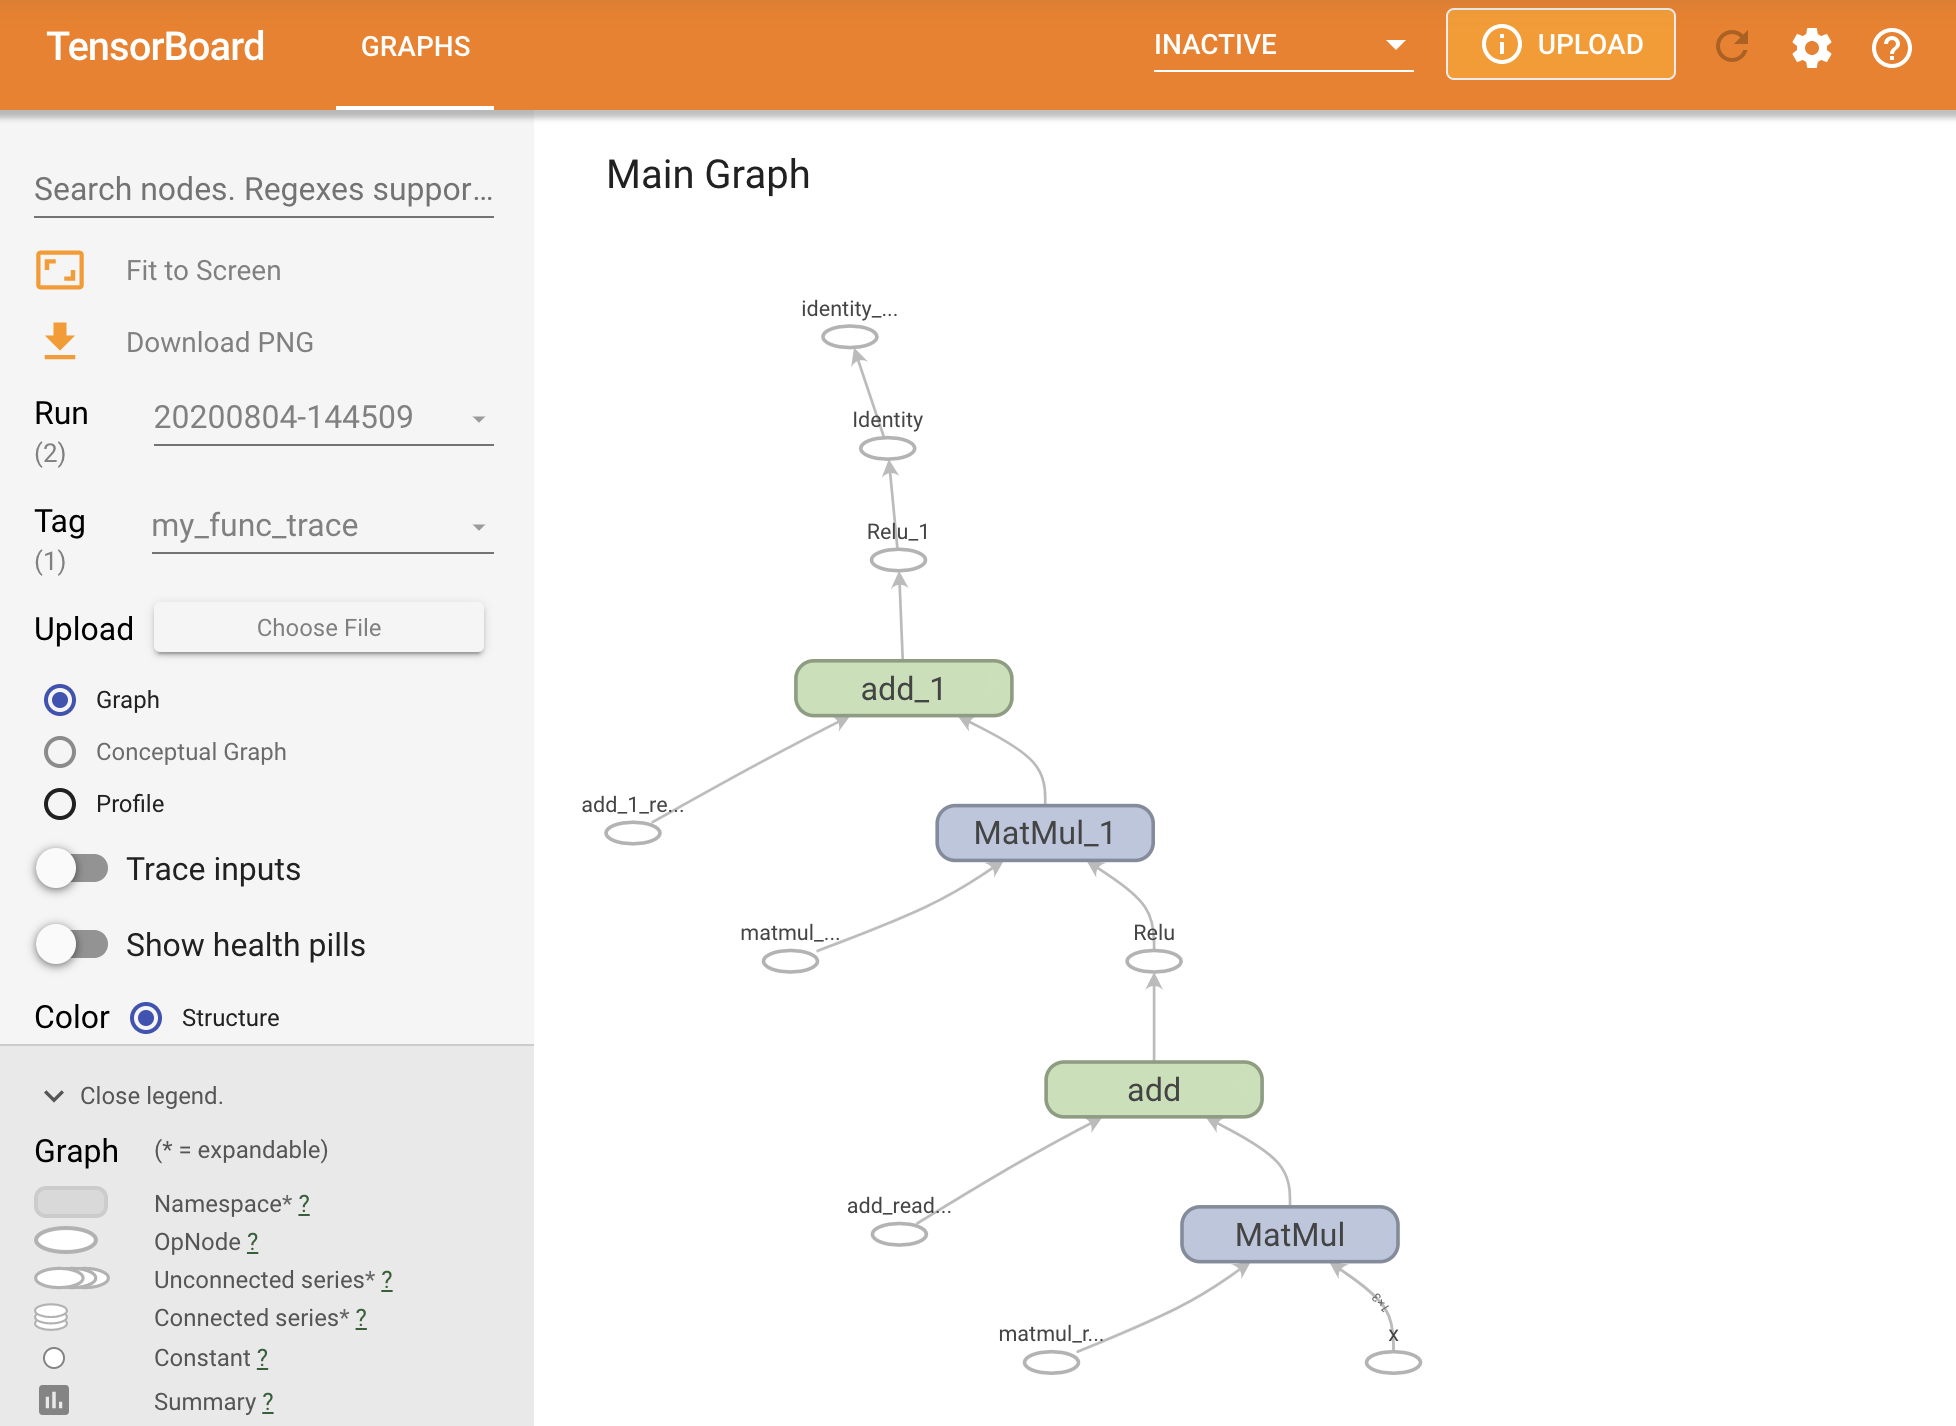
您可以通過在 TensorBoard 摘要中追蹤圖來視覺化該圖。
# Set up logging.
stamp = datetime.now().strftime("%Y%m%d-%H%M%S")
logdir = "logs/func/%s" % stamp
writer = tf.summary.create_file_writer(logdir)

# Create a new model to get a fresh trace
# Otherwise the summary will not see the graph.
new_model = MySequentialModule()

# Bracket the function call with
# tf.summary.trace_on() and tf.summary.trace_export().
tf.summary.trace_on(graph=True)
tf.profiler.experimental.start(logdir)
# Call only one tf.function when tracing.
z = print(new_model(tf.constant([[2.0, 2.0, 2.0]])))
with writer.as_default():
  tf.summary.trace_export(
      name="my_func_trace",
      step=0,
      profiler_outdir=logdir)
tf.Tensor([[0. 0.]], shape=(1, 2), dtype=float32)
啟動 TensorBoard 以檢視產生的追蹤
#docs_infra: no_execute
%tensorboard --logdir logs/func
建立 SavedModel
共享完全訓練模型的建議方法是使用 SavedModel。SavedModel 包含函數集合和權重集合。
您可以按如下方式儲存您剛剛訓練的模型
tf.saved_model.save(my_model, "the_saved_model")
INFO:tensorflow:Assets written to: the_saved_model/assets
# Inspect the SavedModel in the directoryls -l the_saved_model
total 32
drwxr-sr-x 2 kbuilder kokoro  4096 Oct 18 01:21 assets
-rw-rw-r-- 1 kbuilder kokoro    58 Oct 18 01:21 fingerprint.pb
-rw-rw-r-- 1 kbuilder kokoro 17704 Oct 18 01:21 saved_model.pb
drwxr-sr-x 2 kbuilder kokoro  4096 Oct 18 01:21 variables
# The variables/ directory contains a checkpoint of the variablesls -l the_saved_model/variables
total 8
-rw-rw-r-- 1 kbuilder kokoro 490 Oct 18 01:21 variables.data-00000-of-00001
-rw-rw-r-- 1 kbuilder kokoro 356 Oct 18 01:21 variables.index
`saved_model.pb` 檔案是一個協定緩衝區,描述了函數式 tf.Graph。
可以從此表示形式載入模型和層,而無需實際建立建立它的類別的實例。這在您沒有 (或不想要) Python 解譯器的情況下是理想的,例如大規模服務或在邊緣設備上服務,或者在原始 Python 程式碼不可用或不實用的情況下。
您可以將模型載入為新物件
new_model = tf.saved_model.load("the_saved_model")
從載入的已儲存模型建立的 `new_model` 是一個內部 TensorFlow 使用者物件,沒有任何類別知識。它不是 `SequentialModule` 型別。
isinstance(new_model, SequentialModule)
False
這個新模型適用於已定義的輸入簽章。您無法將更多簽章新增到像這樣還原的模型中。
print(my_model([[2.0, 2.0, 2.0]]))
print(my_model([[[2.0, 2.0, 2.0], [2.0, 2.0, 2.0]]]))
tf.Tensor([[0.31593648 0.        ]], shape=(1, 2), dtype=float32)
tf.Tensor(
[[[0.31593648 0.        ]
  [0.31593648 0.        ]]], shape=(1, 2, 2), dtype=float32)
因此,使用 SavedModel,您可以使用 tf.Module 儲存 TensorFlow 權重和圖,然後再次載入它們。
Keras 模型和層
注意,到目前為止,還沒有提到 Keras。您可以在 tf.Module 之上建立自己的高階 API,而且已經有人這樣做了。
在本節中,您將檢查 Keras 如何使用 tf.Module。Keras 指南中提供了 Keras 模型的完整使用者指南。
Keras 層和模型具有更多額外功能,包括
- 可選損失
- 支援 指標
- 內建支援可選的
training參數,以區分訓練和推論用途 - 儲存和還原 Python 物件,而不僅僅是黑箱函數
- `get_config` 和
from_config方法,可讓您準確地儲存組態,以允許在 Python 中進行模型複製
這些功能允許透過子類別化建立更複雜的模型,例如自訂 GAN 或變分自動編碼器 (VAE) 模型。在自訂層和模型的完整指南中閱讀有關它們的資訊。
Keras 模型還具有額外功能,使其易於訓練、評估、載入、儲存,甚至在多部機器上進行訓練。
Keras 層
tf.keras.layers.Layer 是所有 Keras 層的基底類別,它繼承自 tf.Module。
您可以通過替換父類別,然後將 __call__ 更改為 call,將模組轉換為 Keras 層
class MyDense(tf.keras.layers.Layer):
  # Adding **kwargs to support base Keras layer arguments
  def __init__(self, in_features, out_features, **kwargs):
    super().__init__(**kwargs)

    # This will soon move to the build step; see below
    self.w = tf.Variable(
      tf.random.normal([in_features, out_features]), name='w')
    self.b = tf.Variable(tf.zeros([out_features]), name='b')
  def call(self, x):
    y = tf.matmul(x, self.w) + self.b
    return tf.nn.relu(y)

simple_layer = MyDense(name="simple", in_features=3, out_features=3)
Keras 層有自己的 __call__,它執行下一節中描述的一些簿記操作,然後調用 call()。您應該不會注意到功能上的任何變化。
simple_layer([[2.0, 2.0, 2.0]])
<tf.Tensor: shape=(1, 3), dtype=float32, numpy=array([[1.1688161, 0. , 0. ]], dtype=float32)>
建構步驟
如前所述,在許多情況下,等到您確定輸入形狀後再建立變數是很方便的。
Keras 層帶有一個額外的生命週期步驟,可讓您在定義層的方式上更具彈性。這在 build 函數中定義。
build 只會被調用一次,並且會使用輸入的形狀調用它。它通常用於建立變數 (權重)。
您可以重寫上面的 `MyDense` 層,使其對輸入的大小具有彈性
class FlexibleDense(tf.keras.layers.Layer):
  # Note the added `**kwargs`, as Keras supports many arguments
  def __init__(self, out_features, **kwargs):
    super().__init__(**kwargs)
    self.out_features = out_features

  def build(self, input_shape):  # Create the state of the layer (weights)
    self.w = tf.Variable(
      tf.random.normal([input_shape[-1], self.out_features]), name='w')
    self.b = tf.Variable(tf.zeros([self.out_features]), name='b')

  def call(self, inputs):  # Defines the computation from inputs to outputs
    return tf.matmul(inputs, self.w) + self.b

# Create the instance of the layer
flexible_dense = FlexibleDense(out_features=3)
此時,模型尚未建構,因此沒有變數
flexible_dense.variables
[]
調用函數會分配適當大小的變數
# Call it, with predictably random results
print("Model results:", flexible_dense(tf.constant([[2.0, 2.0, 2.0], [3.0, 3.0, 3.0]])))
Model results: tf.Tensor(
[[-2.531786  -5.5550847 -0.4248762]
 [-3.7976792 -8.332626  -0.6373143]], shape=(2, 3), dtype=float32)
flexible_dense.variables
[<tf.Variable 'flexible_dense/w:0' shape=(3, 3) dtype=float32, numpy=
 array([[-0.77719826, -1.9281565 ,  0.82326293],
        [ 0.85628736, -0.31845194,  0.10916236],
        [-1.3449821 , -0.5309338 , -1.1448634 ]], dtype=float32)>,
 <tf.Variable 'flexible_dense/b:0' shape=(3,) dtype=float32, numpy=array([0., 0., 0.], dtype=float32)>]
由於 build 只被調用一次,如果輸入形狀與層的變數不相容,則輸入將被拒絕
try:
  print("Model results:", flexible_dense(tf.constant([[2.0, 2.0, 2.0, 2.0]])))
except tf.errors.InvalidArgumentError as e:
  print("Failed:", e)
Failed: Exception encountered when calling layer 'flexible_dense' (type FlexibleDense).

{ {function_node __wrapped__MatMul_device_/job:localhost/replica:0/task:0/device:CPU:0} } Matrix size-incompatible: In[0]: [1,4], In[1]: [3,3] [Op:MatMul] name:

Call arguments received by layer 'flexible_dense' (type FlexibleDense):
  • inputs=tf.Tensor(shape=(1, 4), dtype=float32)
Keras 模型
您可以將模型定義為巢狀 Keras 層。
但是,Keras 也提供了一個功能完善的模型類別,稱為 tf.keras.Model。它繼承自 tf.keras.layers.Layer,因此 Keras 模型可以像 Keras 層一樣使用和巢狀。Keras 模型具有額外功能,使其易於訓練、評估、載入、儲存,甚至在多部機器上進行訓練。
您可以使用幾乎相同的程式碼定義上面的 `SequentialModule`,再次將 __call__ 轉換為 call() 並更改父類別
@keras.saving.register_keras_serializable()
class MySequentialModel(tf.keras.Model):
  def __init__(self, name=None, **kwargs):
    super().__init__(**kwargs)

    self.dense_1 = FlexibleDense(out_features=3)
    self.dense_2 = FlexibleDense(out_features=2)
  def call(self, x):
    x = self.dense_1(x)
    return self.dense_2(x)

# You have made a Keras model!
my_sequential_model = MySequentialModel(name="the_model")

# Call it on a tensor, with random results
print("Model results:", my_sequential_model(tf.constant([[2.0, 2.0, 2.0]])))
Model results: tf.Tensor([[ 0.26034355 16.431221 ]], shape=(1, 2), dtype=float32)
所有相同的功能都可用,包括追蹤變數和子模組。
my_sequential_model.variables
[<tf.Variable 'my_sequential_model/flexible_dense_1/w:0' shape=(3, 3) dtype=float32, numpy=
 array([[ 1.4749854 ,  0.16090827,  2.2669017 ],
        [ 1.6850946 ,  1.1545411 ,  0.1707306 ],
        [ 0.8753734 , -0.13549292,  0.08751986]], dtype=float32)>,
 <tf.Variable 'my_sequential_model/flexible_dense_1/b:0' shape=(3,) dtype=float32, numpy=array([0., 0., 0.], dtype=float32)>,
 <tf.Variable 'my_sequential_model/flexible_dense_2/w:0' shape=(3, 2) dtype=float32, numpy=
 array([[-0.8022977 ,  1.9773549 ],
        [-0.76657015, -0.8485579 ],
        [ 1.6919082 ,  0.49000967]], dtype=float32)>,
 <tf.Variable 'my_sequential_model/flexible_dense_2/b:0' shape=(2,) dtype=float32, numpy=array([0., 0.], dtype=float32)>]
my_sequential_model.submodules
(<__main__.FlexibleDense at 0x7f790c7e0e80>,
 <__main__.FlexibleDense at 0x7f790c7e6940>)
覆寫 tf.keras.Model 是一種非常 Pythonic 的方法來建構 TensorFlow 模型。如果您從其他框架遷移模型,這可能會非常簡單。
如果您正在建構的模型是現有層和輸入的簡單組合,則可以使用函數式 API 來節省時間和空間,它帶有圍繞模型重建和架構的額外功能。
這是使用函數式 API 的相同模型
inputs = tf.keras.Input(shape=[3,])

x = FlexibleDense(3)(inputs)
x = FlexibleDense(2)(x)

my_functional_model = tf.keras.Model(inputs=inputs, outputs=x)

my_functional_model.summary()
Model: "model"
_________________________________________________________________
 Layer (type)                Output Shape              Param #
=================================================================
 input_1 (InputLayer)        [(None, 3)]               0

 flexible_dense_3 (Flexible  (None, 3)                 12
 Dense)

 flexible_dense_4 (Flexible  (None, 2)                 8
 Dense)

=================================================================
Total params: 20 (80.00 Byte)
Trainable params: 20 (80.00 Byte)
Non-trainable params: 0 (0.00 Byte)
_________________________________________________________________
my_functional_model(tf.constant([[2.0, 2.0, 2.0]]))
<tf.Tensor: shape=(1, 2), dtype=float32, numpy=array([[3.4276495, 2.937252 ]], dtype=float32)>
這裡的主要區別在於輸入形狀在函數式建構過程中預先指定。在這種情況下,`input_shape` 參數不必完全指定;您可以將某些維度保留為 `None`。
儲存 Keras 模型
Keras 模型有自己的專用 zip 壓縮檔儲存格式,以 `.keras` 副檔名標記。調用 tf.keras.Model.save 時,請將 `.keras` 副檔名新增到檔案名稱。例如
my_sequential_model.save("exname_of_file.keras")
同樣容易地,它們可以被重新載入
reconstructed_model = tf.keras.models.load_model("exname_of_file.keras")
Keras zip 壓縮檔 — `.keras` 檔案 — 也儲存指標、損失和最佳化器狀態。
這個重建的模型可以使用,並且在相同的資料上調用時將產生相同的結果
reconstructed_model(tf.constant([[2.0, 2.0, 2.0]]))
<tf.Tensor: shape=(1, 2), dtype=float32, numpy=array([[ 0.26034355, 16.431221 ]], dtype=float32)>
檢查點 Keras 模型
Keras 模型也可以檢查點,並且看起來與 tf.Module 相同。
關於 Keras 模型的儲存和序列化,還有更多需要了解的內容,包括為自訂層提供組態方法以支援功能。查看儲存和序列化指南。
接下來是什麼
如果您想了解有關 Keras 的更多詳細資訊,可以在這裡關注現有的 Keras 指南。
另一個建立在 tf.module 之上的高階 API 範例是 DeepMind 的 Sonnet,其內容涵蓋在他們的網站上。